White Washing Barn Wood
April 15, 2015
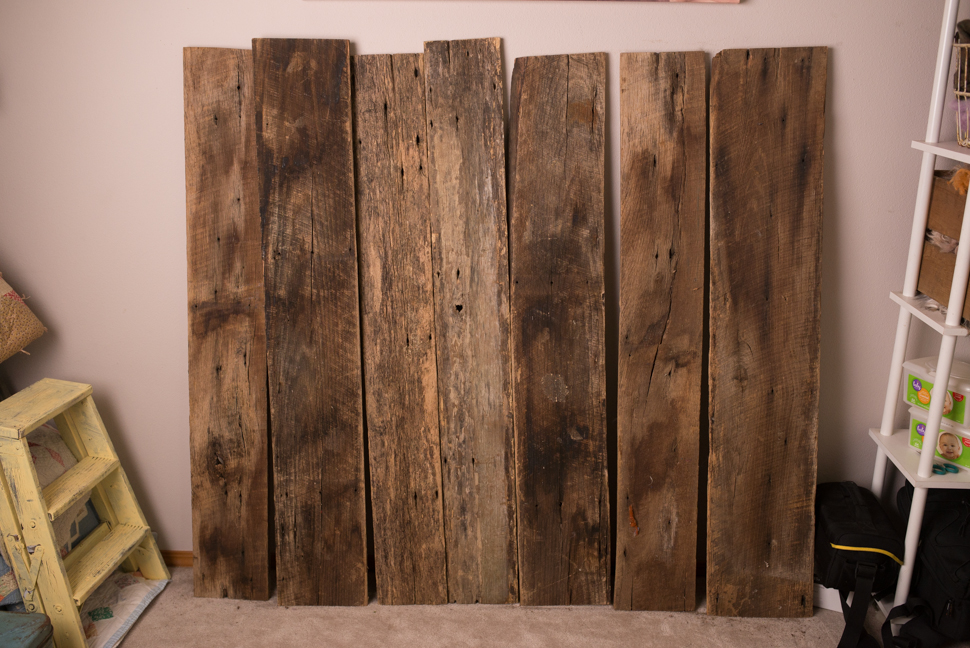
I’ve been asked multiple times how exactly I turned my dark barn wood into a creamy white washed color. I had originally only done the floor drop part, but decided to also do the backdrop and make a blog post about it for all of you! So here it goes.
Turn this into this!


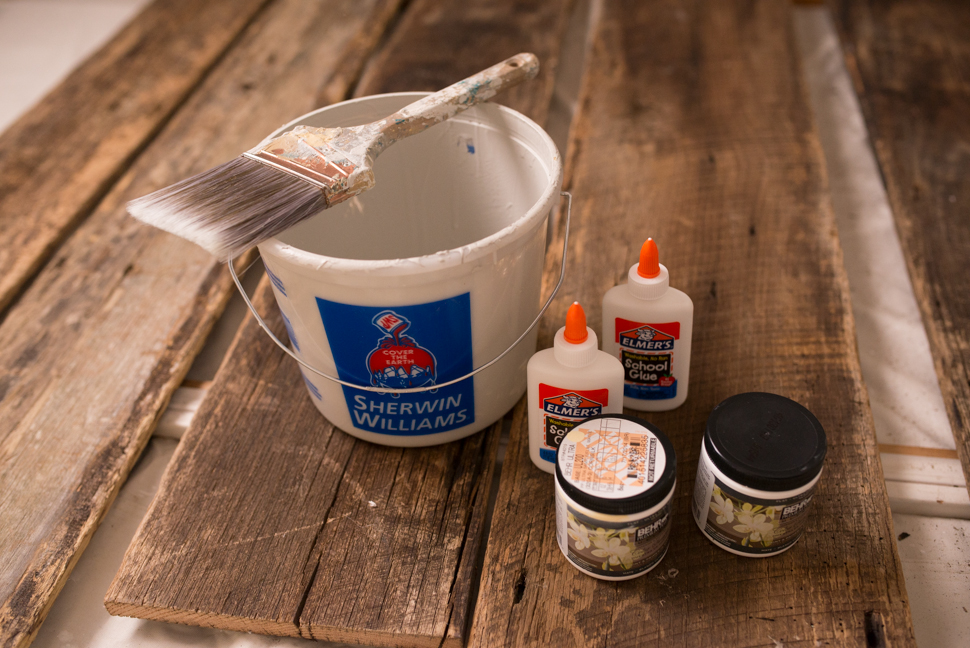
What you’ll need:
Barn Wood (Mine is approximately 5ftx5ft)
2 5ft planks (or something to raise the wood)
A tarp (If you’re doing it inside)
Paint brush
Paint Bucket
(Not pictured) a bucket for the glue
2 bottles of Elmer’s glue (Just the regular kind)
White sample paint from Home Depot (80z)
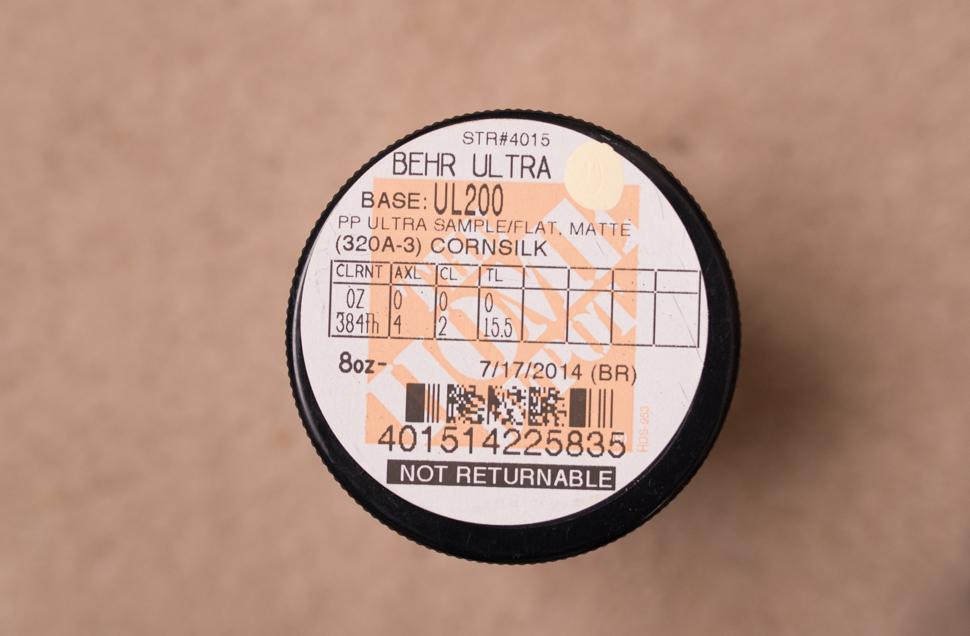
A sample paint of Behr Ultra Cornsilk in a matte finish (8oz)
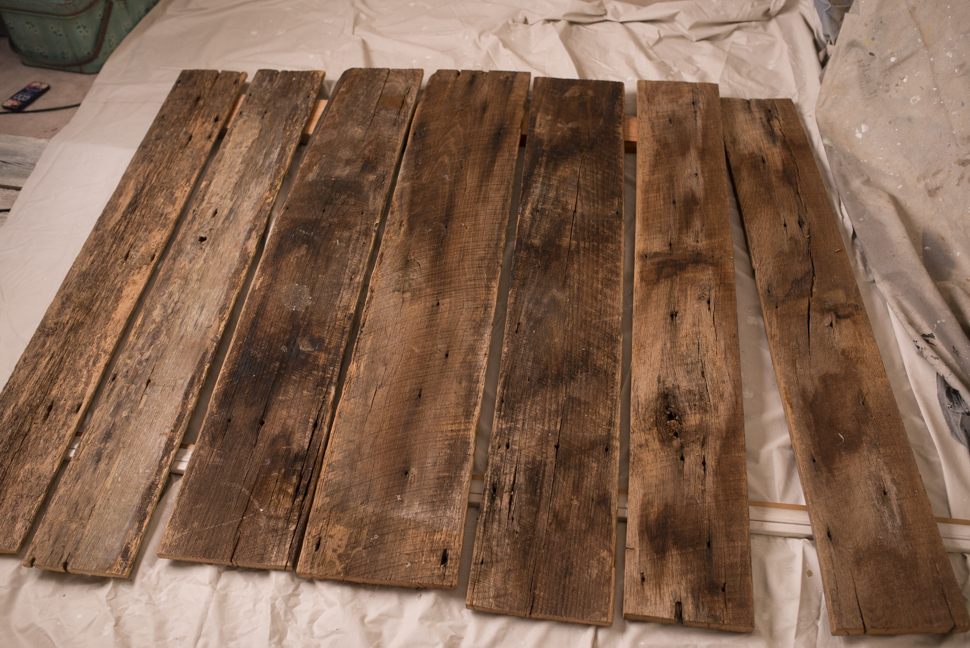
Lay out your tarp and put the 5ft planks horizontal about 5 feet apart. Lay your barn wood vertically across these planks. This just raises the wood off the ground a bit.
Get your paint and glue ready. For the glue I just squirted about half a bottle at a time into an old Tupperware container. For the paint, I put about 4oz of the white paint in the bucket, and then filled it with about 1/2 cup of water. You may have to mess with the amount of water to paint. The first time I used too much water, and it all just soaked into the wood. If that happens, just add a little more paint. It’s better to start off with too much water than too much paint.
If you want you can use separate bushes for the glue and paint. I didn’t. Dip your brush into the glue and paint it on like the picture below across the whole plank.
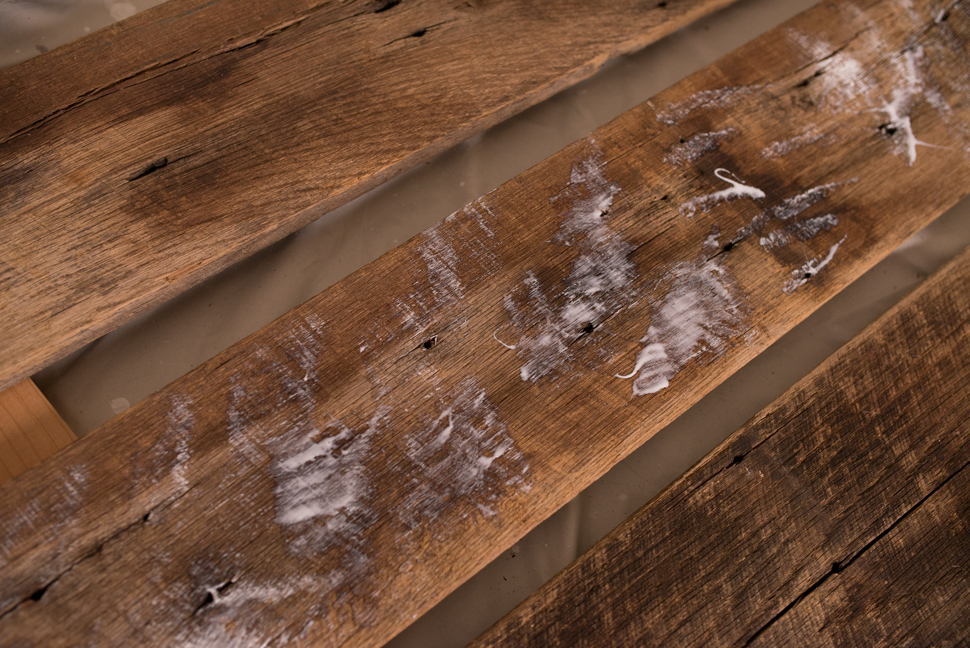
Then dip your brush into the paint (I suggest dipping it into the top part of the paint, thats more watery. If you scoop from the bottom you’ll get more paint.) and immediately paint over the wet glue. The glue causes the paint to crackle a bit, giving it more of a weather looked. You should have one plank that looks like this now:
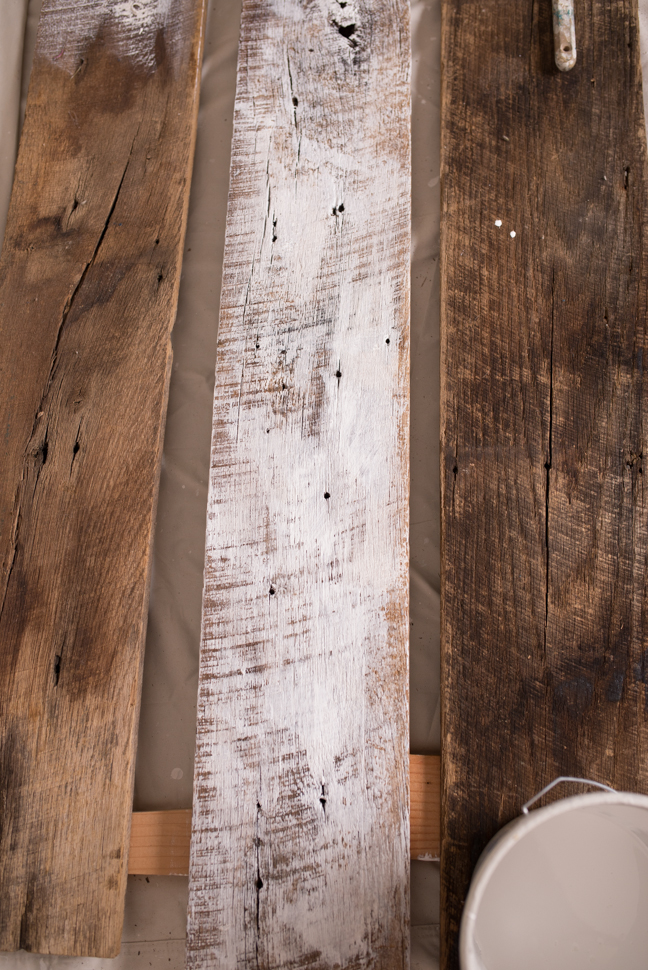
Continue this process of glue-paint for each plank of wood.
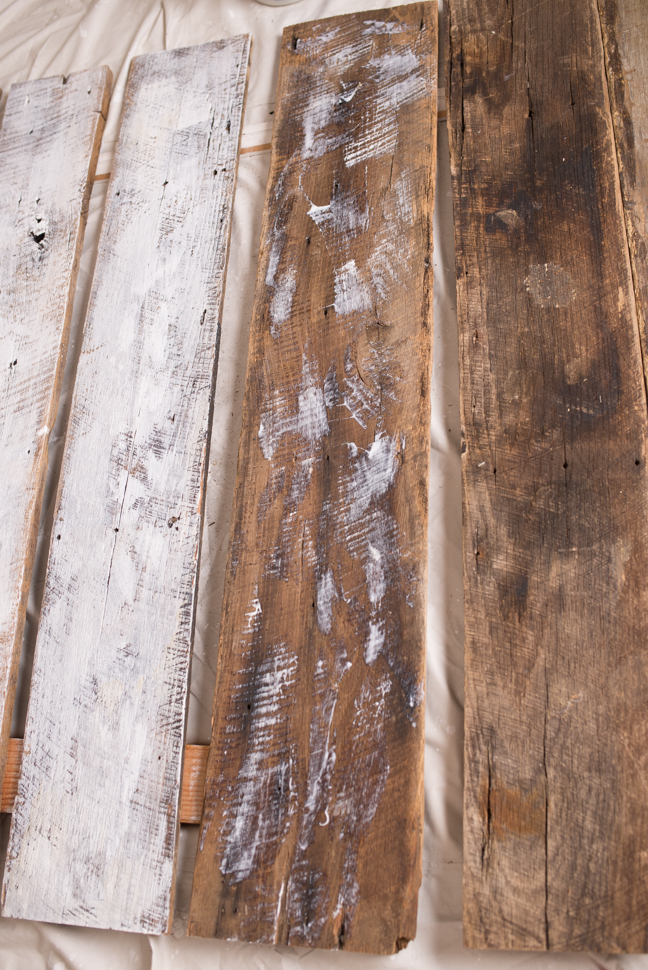
You can see that the paint soaks into the wood as it drys compared to the plank on the right which was still very wet.
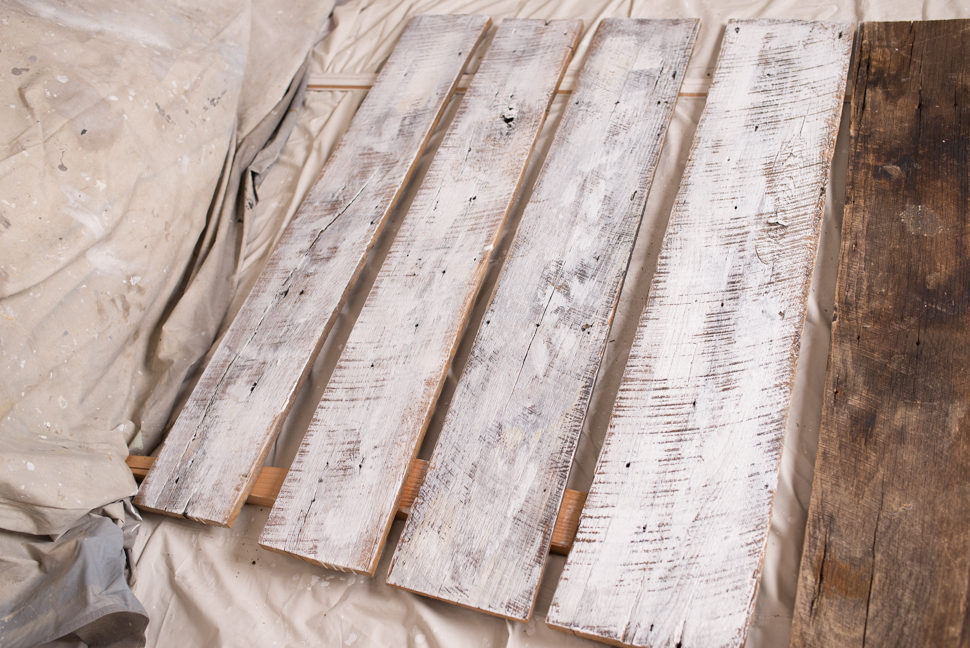
Once you finish it should look like this:
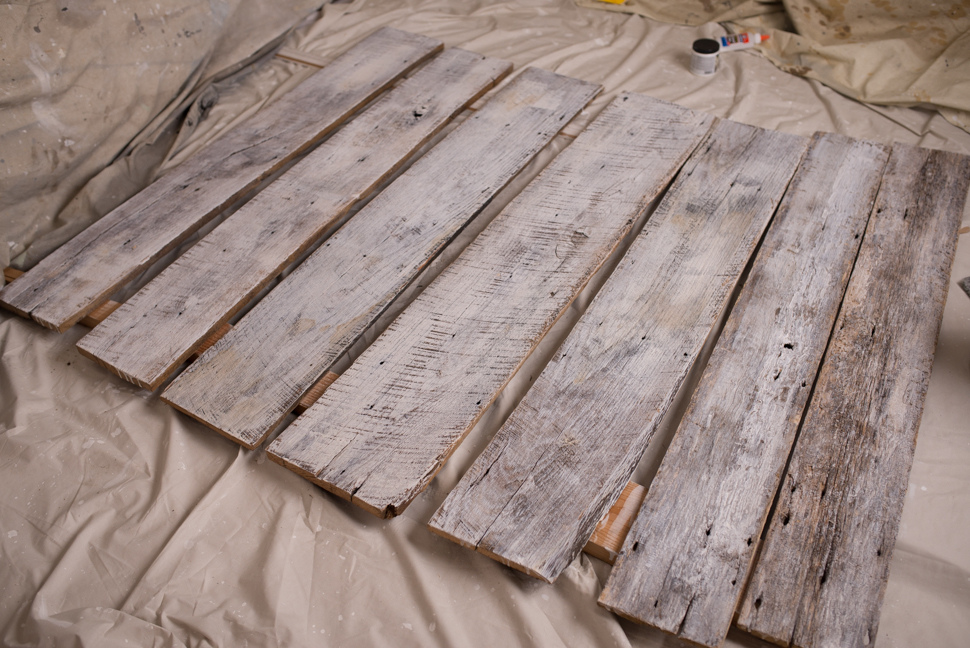
Go over it again with more watery paint (no glue this time). Now let it dry over night!
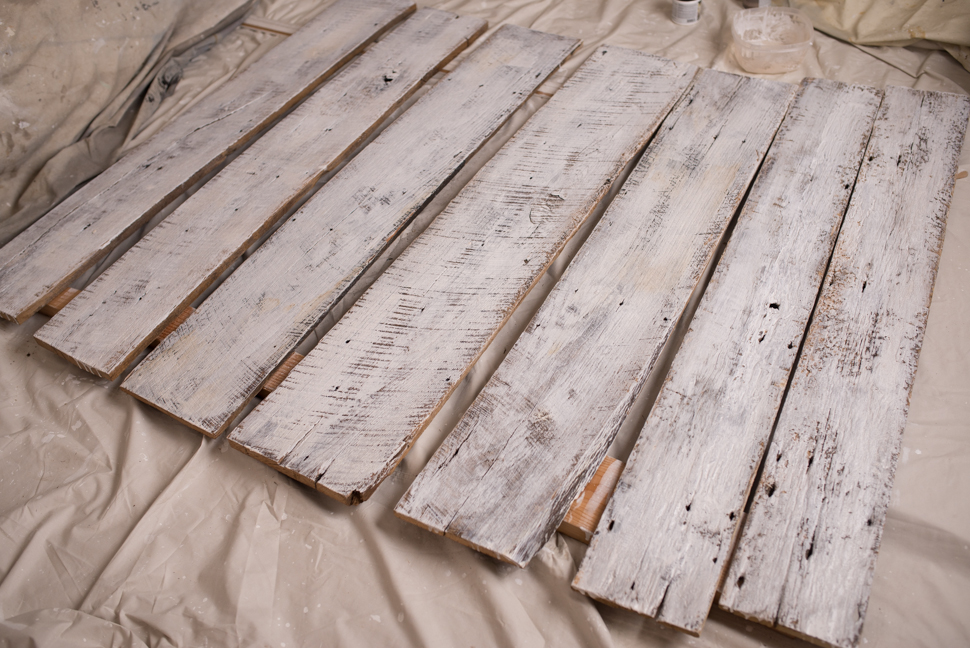
When I did this the first time I thought I was done. But I realized that the wood was so white, it was almost blue. I went out in the garage and found some extra paint samples and found the cornsilk color. It added the perfect warmth to the wood!
I used about 50% paint and 50% water, and just brushed it on top. Here is the final product!
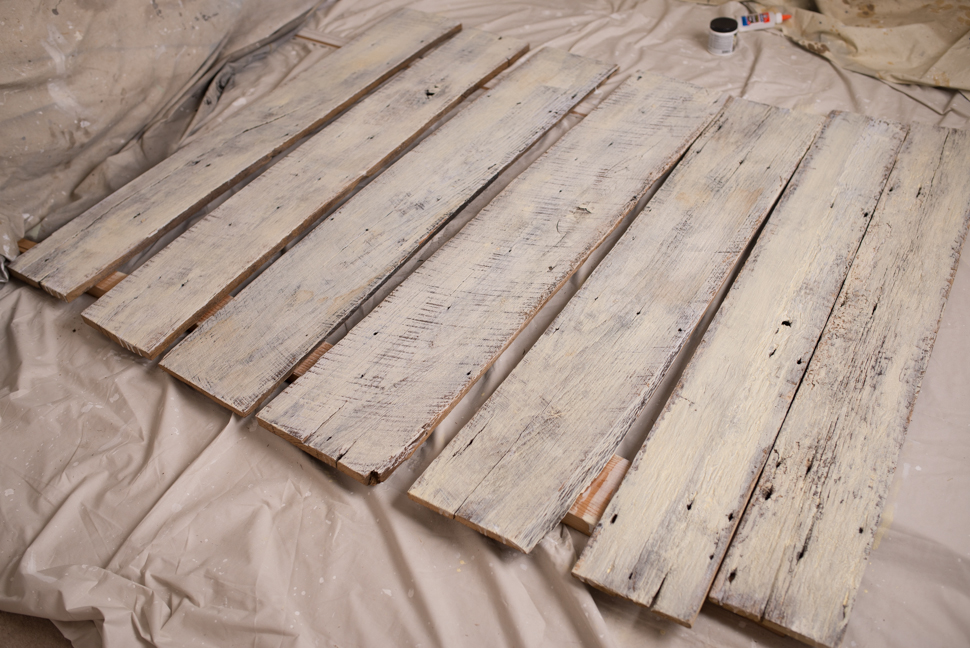
A couple things to mention- my wood is *very* old and weathered. You are not going to get the same effect with brand new wood planks.
Never leave babies unattended or put them straight on the wood. I always use buckets/blankets/fluffs underneath baby’s delicate skin when sitting on the wood.
If you found this tutorial helpful, please comment or share! I would love to see what you come up with if you decide to try this out. 🙂

Wow wow! So cool! Thanks for sharing!
What a great post! Now I just need to find me some old planks! Thank you for sharing.
Sweet!! thanks for the tip!
Great project! Thanks for sharing.
Now, I need to pay you to fly to CA to do this for me! Love it! XOXO
What a great weekend project. I love it. And the images look great on it! Thanks for sharing!
Wow, this is great to know! I’m definitely keeping this in my back pocket 🙂
Love this! I am going to use this guide when I paint my floors! Your work is beautiful! Thank you for sharing 🙂
Thanks for your detailed instructions on painting weathered barnwood. When you paint the glue layer, it looks very sporadic, not full coverage, and in various directions. Is that correct?
Thank you for your post. I have old barn wood on my wall in my basement, will this work for that? Thanks Gloria
I think that would work fine!!
What’s the ultimate purpose of the glue?